Chocolate Honeycomb Bars
Uitgelicht onder: Zoete Klassiekers
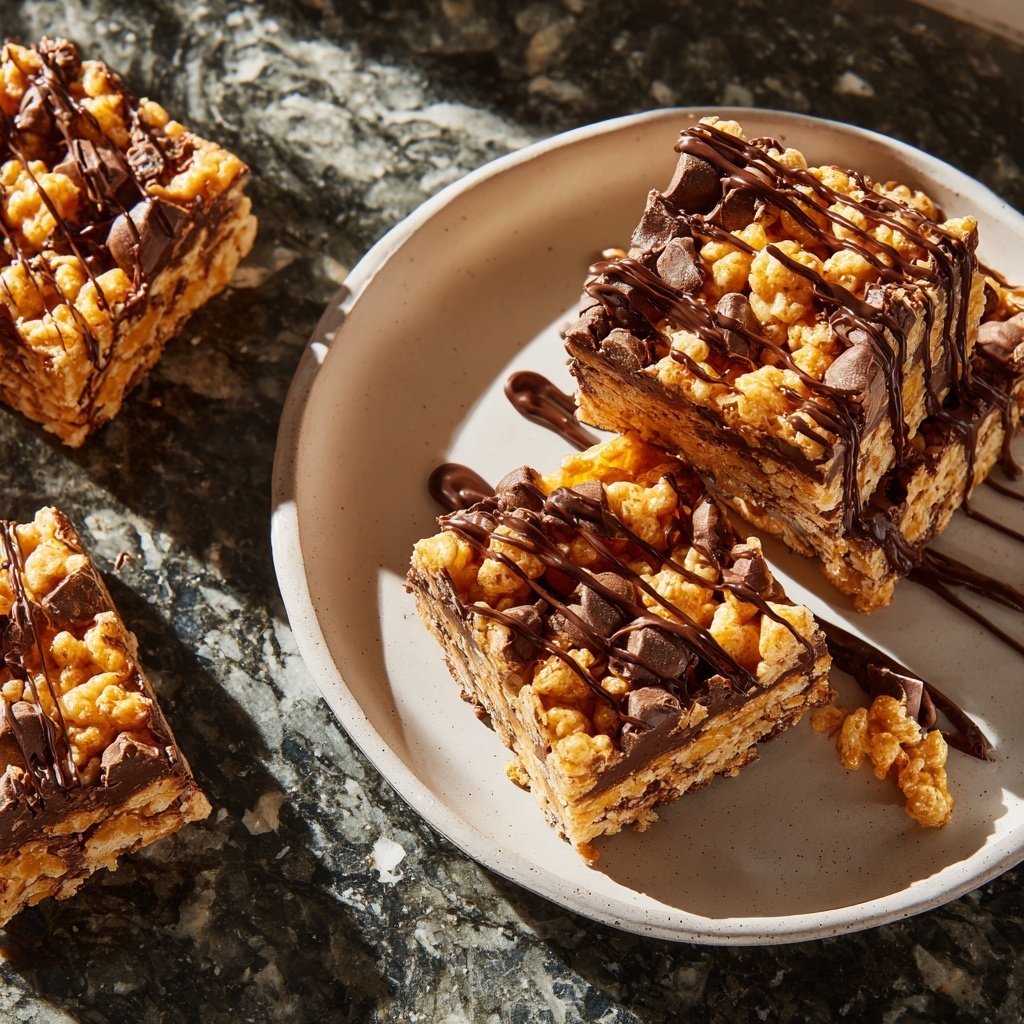
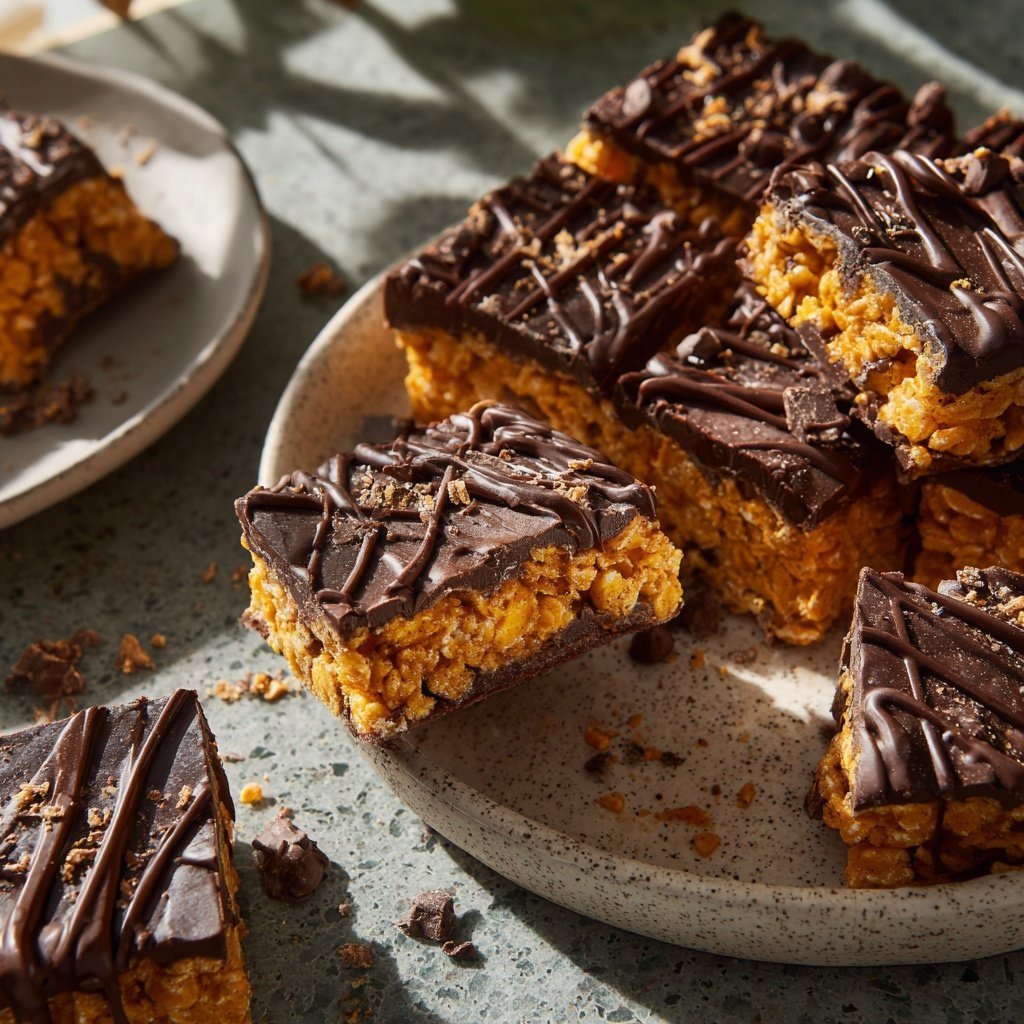
I love making these Chocolate Honeycomb Bars, especially when I want to impress friends or treat my family. The combination of crispy honeycomb and rich chocolate creates a delightful dessert that disappears quickly. It’s surprisingly easy to prepare, and the satisfaction I get from watching everyone enjoy them makes the process worthwhile. Plus, I love how the flavor pairs well with a warm cup of tea or coffee, making it perfect for gatherings. Whether it’s a cozy night in or a festive occasion, these bars are always a hit!
When I first attempted to make Chocolate Honeycomb Bars, I was amazed at how simple the process turned out to be. The key to achieving that perfect crunch lies in ensuring the sugar reaches the right temperature before adding the baking soda. I remember the excitement as the mixture bubbled and transformed!
After experimenting with different chocolates, I found that dark chocolate provides a rich contrast to the sweetness of the honeycomb. It elevates the flavor, making each bite a delightful experience. I encourage you to try different types of chocolate to personalize this treat even more!
Why You'll Love These Bars
- A crunchy texture enveloped in rich, creamy chocolate
- Quick and fun to make, perfect for any occasion
- A unique dessert that will impress your guests effortlessly
Mastering the Honeycomb
The success of chocolate honeycomb bars heavily relies on achieving the right texture for the honeycomb. When boiling the sugar and golden syrup, keep a close eye on the color; you're aiming for a light amber hue. This indicates the sugar has caramelized properly without burning. Overheating can lead to a bitter flavor, while undercooking might result in a chewy texture instead of a delightful crispiness. Always use a candy thermometer if you have one, and target a temperature of around 300°F (149°C) for the perfect crunch.
Once you've stirred in the baking soda, you'll notice a vigorous reaction that causes the mixture to foam and bubble. Work quickly during this step as the honeycomb sets fast once poured onto the baking sheet. Use a spatula or wooden spoon to spread it out evenly without disturbing it too much. If you find the mixture is hard to manage, I recommend spraying your tools with a little oil to help avoid sticking.
Chocolate Coating Techniques
Melting chocolate can be tricky; it requires a delicate touch to avoid seizing. Use a heatproof bowl over a pot of simmering water, ensuring the bottom of the bowl does not touch the water. Stir often until the chocolate is completely smooth and glossy. If you happen to overload the mixture with chocolate, it can cause the coating to be too thick, hiding the alluring honeycomb texture underneath. A thin, even layer is what you want for a perfect balance.
After coating the honeycomb pieces, let them set on parchment paper in a cool, dry place. Avoid refrigerating them unless necessary, as this can cause the chocolate to bloom, which may affect the appearance. If you prefer a homemade touch, consider drizzling additional melted chocolate on top of the set bars, or sprinkling with sea salt to enhance the flavor contrast.
Serving and Storage Suggestions
These chocolate honeycomb bars can be enjoyed immediately after they set, but they develop an even better flavor if allowed to sit for a few hours. For gatherings, consider cutting them into small bite-sized squares to encourage sharing. Pairing them with a warm beverage like tea or coffee enhances the overall experience, providing a comforting contrast to the crunchy bars.
To store your honeycomb bars, layer them between sheets of parchment paper in an airtight container. They can last for about a week at room temperature. However, for long-term storage, they can be frozen for up to a month. Just make sure they are fully cooled and wrapped securely to prevent moisture absorption, which can spoil the texture.
Ingredients
For the Honeycomb
- 1 cup granulated sugar
- 1/4 cup golden syrup
- 1 tablespoon baking soda
For the Coating
- 200g dark chocolate, chopped
- 50g milk chocolate, chopped
Instructions
How to Make Chocolate Honeycomb Bars
Prepare the Honeycomb
In a saucepan, combine sugar and golden syrup. Heat on medium until the sugar dissolves, then boil without stirring for about 5-7 minutes, or until it reaches a light amber color. Quickly remove from heat and stir in baking soda.
Create the Honeycomb
Pour the mixture onto a lined baking sheet and let it cool completely. Once set, break into pieces.
Melt the Chocolate
In a heatproof bowl over simmering water, melt the dark and milk chocolate together until smooth.
Assemble the Bars
Dip each honeycomb piece into the melted chocolate, ensuring it is well coated. Place on parchment paper to set.
Enjoy!
Professionele Tips
- For an extra twist, add a sprinkle of sea salt on top of the chocolate before it sets for a hint of flavor contrast.
Ingredient Quality Matters
For the best results, choose high-quality chocolates for coating. Dark chocolate that is at least 70% cocoa provides a rich contrast to the sweetness of the honeycomb. Milk chocolate adds creaminess, but you can adjust the ratios to suit your taste. If you want to make a dairy-free version, opt for dark chocolate labeled as dairy-free or vegan, which works perfectly with this recipe.
Golden syrup is essential for achieving that nice golden color and flavor in the honeycomb; it enhances the sweetness without being overly cloying. If you can’t find golden syrup, you can substitute it with light corn syrup or honey, but be aware that the flavor and texture might vary slightly.
Variations and Flavor Boosts
Feel free to get creative with your chocolate honeycomb bars! Add crushed nuts, such as almonds or hazelnuts, to the melted chocolate for an extra crunch. You can also incorporate spices like cinnamon or chili powder to add a hint of warmth that complements the richness of the chocolate.
If you enjoy a fruity twist, consider sprinkling some dried fruits, like cranberries or apricots, over the melted chocolate before it sets. This will add a lovely contrast to the texture and flavor, making the dessert more exciting. Remember, the honeycomb itself can also be adapted by infusing it with a touch of vanilla extract during the cooking process for added depth.
Vragen Over Recepten
→ How do I store the Chocolate Honeycomb Bars?
Store them in an airtight container at room temperature for up to a week.
→ Can I use milk chocolate instead of dark?
Yes, but keep in mind it will change the flavor profile to be sweeter.
→ What can I substitute for golden syrup?
You can use light corn syrup or honey, but the flavor will vary slightly.
→ Is this recipe suitable for beginners?
While it has some technical aspects, with careful attention, even beginners can make it successfully!
Chocolate Honeycomb Bars
Gemaakt door: Ione Rutherford
Recepttype: Zoete Klassiekers
Vaardigheidsniveau: Intermediate
Eindportie: 12 bars
Wat je Nodig Hebt
For the Honeycomb
- 1 cup granulated sugar
- 1/4 cup golden syrup
- 1 tablespoon baking soda
For the Coating
- 200g dark chocolate, chopped
- 50g milk chocolate, chopped
Stappen
In a saucepan, combine sugar and golden syrup. Heat on medium until the sugar dissolves, then boil without stirring for about 5-7 minutes, or until it reaches a light amber color. Quickly remove from heat and stir in baking soda.
Pour the mixture onto a lined baking sheet and let it cool completely. Once set, break into pieces.
In a heatproof bowl over simmering water, melt the dark and milk chocolate together until smooth.
Dip each honeycomb piece into the melted chocolate, ensuring it is well coated. Place on parchment paper to set.
Extra Tips
- For an extra twist, add a sprinkle of sea salt on top of the chocolate before it sets for a hint of flavor contrast.
Voedingswaarde (Per Portie)
- Calories: 380 kcal
- Total Fat: 26g
- Saturated Fat: 15g
- Cholesterol: 195mg
- Sodium: 85mg
- Total Carbohydrates: 32g
- Dietary Fiber: 3g
- Sugars: 24g
- Protein: 6g