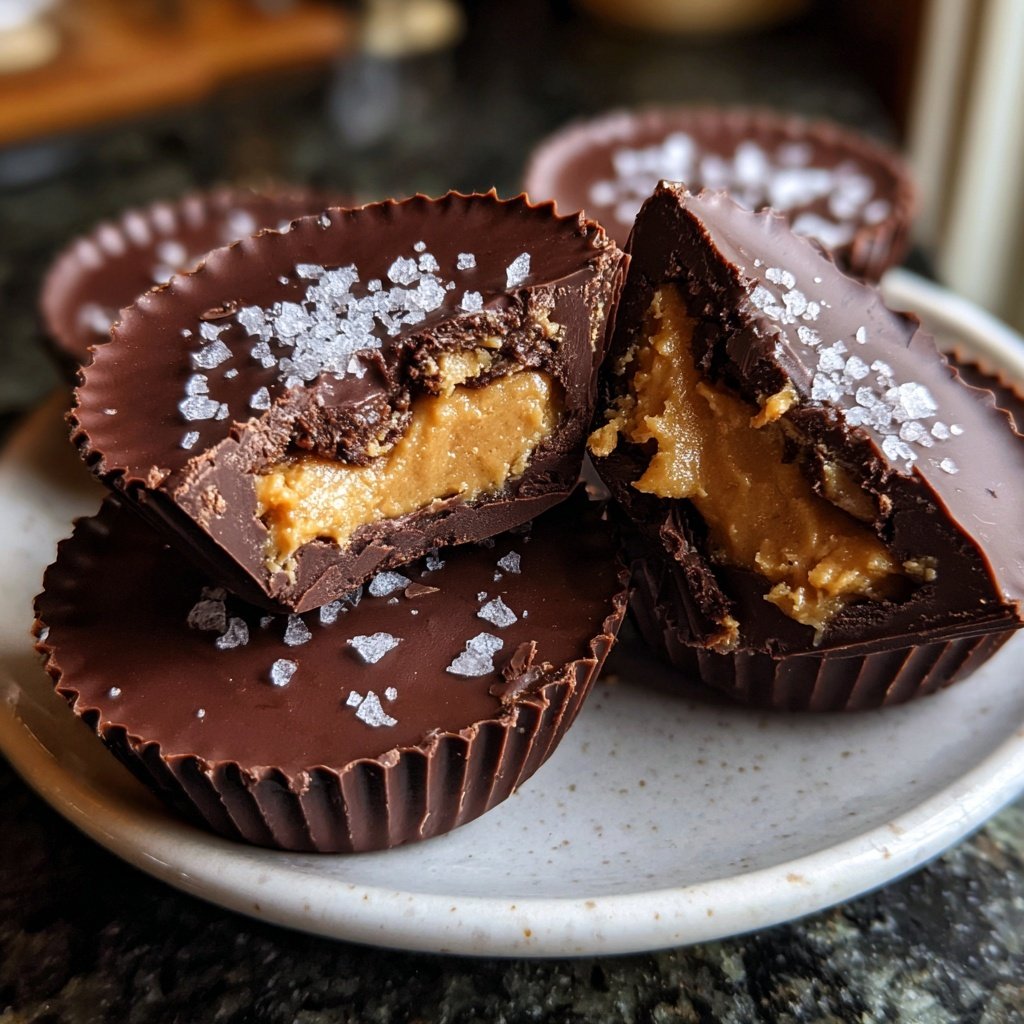
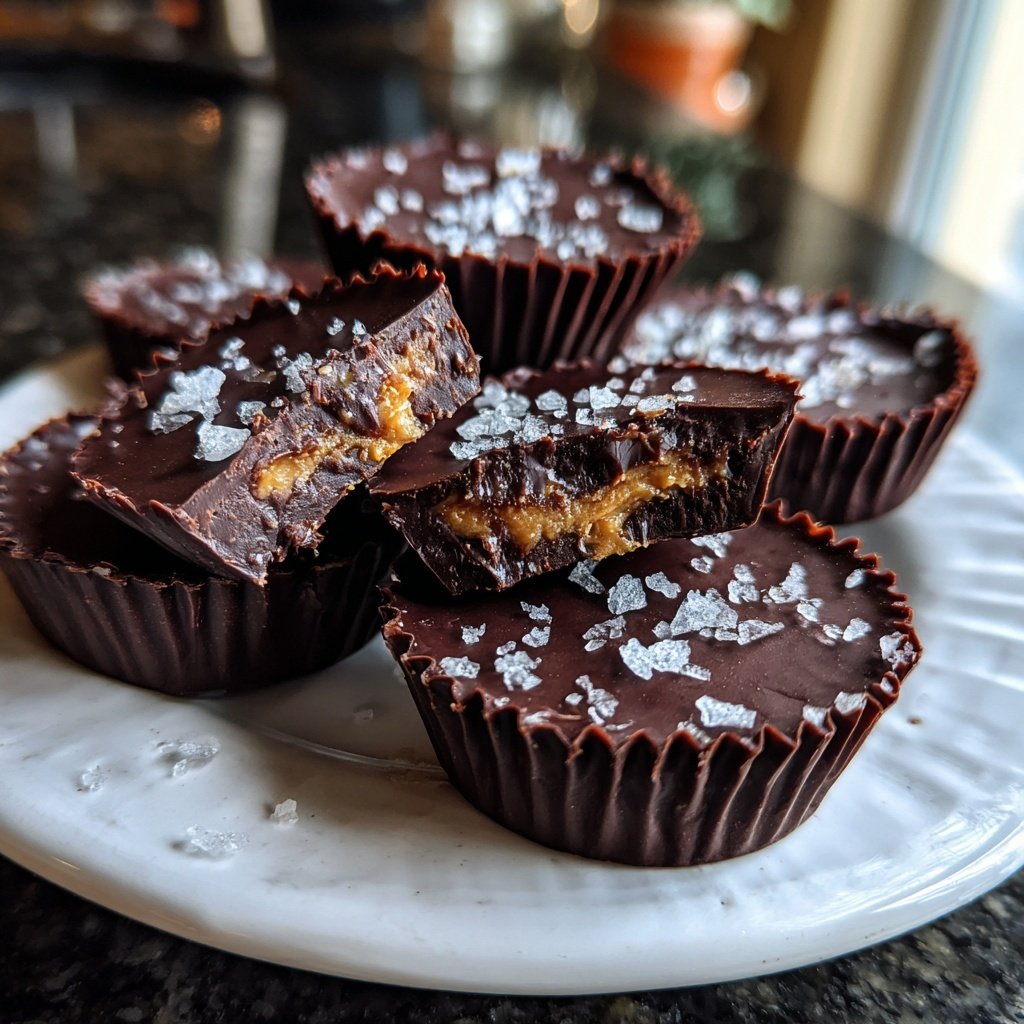
Homemade Reese’s Cups with Sea Salt
Uitgelicht onder: Zoete Klassiekers
When I crave something sweet and chocolatey, I often find myself reaching for these Homemade Reese’s Cups with Sea Salt. Making them from scratch has transformed my snacking habits! The combination of rich peanut butter and velvety chocolate, topped with a hint of sea salt, is simply irresistible. I love how easy they are to whip up, and they always impress my friends when I share them at gatherings. Plus, knowing all the ingredients makes them feel a little healthier, even though they’re an indulgent treat!
Creating these Homemade Reese’s Cups was a delightful experience that brought back childhood memories of my favorite treats. I wanted to find a way to enjoy them without all the preservatives found in store-bought versions. After several tests, I discovered that a combination of creamy peanut butter and high-quality chocolate creates the perfect flavor balance.
To elevate the flavor even further, I decided to sprinkle a little sea salt on top. This small touch brings out the sweetness and adds complexity to every bite. I cannot recommend trying this enough—it’s a game changer for such a beloved treat!
Why You'll Love These Cups
- Rich chocolate flavor paired with crunchy sea salt
- Creamy peanut butter filling that satisfies your cravings
- Easily customizable to suit your flavor preferences
Crafting the Perfect Chocolate Shell
When melting chocolate for these cups, it's crucial to do so gently to avoid seizing. Using a double boiler is ideal since it provides indirect heat. Stir constantly until the chocolate is glossy and smooth, which usually takes about 5-7 minutes. If you notice the chocolate thickening too much, removing it from heat and stirring vigorously can help return it to a creamy consistency. Make sure not to get any water in the chocolate, as this can cause it to clump.
It's also important to keep the chocolate warm but not hot when pouring it into the muffin liners. Allowing it to cool slightly reduces the risk of melting the peanut butter layer that you’ll add later. A good visual cue is to let it cool until it's just above room temperature, ensuring it’s pourable but still fluid enough to coat the liners evenly.
Perfecting the Peanut Butter Layer
For the peanut butter filling, creamy peanut butter works best as it blends smoothly with powdered sugar and vanilla. If you prefer a healthier alternative, natural peanut butter can be used, but you might need to adjust the powdered sugar. A thicker consistency may require more powdered sugar to achieve the desired texture, ensuring it holds its shape when layered over the chocolate.
Mixing the filling until fully combined allows the flavors to meld better, resulting in a richer taste. I find that using a hand mixer for about 1-2 minutes helps achieve a smoother blend. This creaminess not only enhances the mouthfeel but also makes it easier to scoop and flatten when adding it to the chocolate base.
Tips for Serving and Storage
Once you've added the sea salt to the tops of your cups, they’re ready to devour! To elevate the experience, serve them chilled, as the texture becomes firmer and offers a delightful contrast to the creamy filling. Pairing them with a glass of cold milk or a hot cup of coffee makes for an indulgent treat during movie nights or casual gatherings.
For storage, keep the cups in an airtight container in the fridge, where they’ll last for up to two weeks. If you wish to extend their shelf life, you can freeze them; just ensure they're well-wrapped to prevent freezer burn. When you're ready to enjoy them, simply transfer them to the fridge to thaw, ensuring they retain their firm yet creamy texture.
Ingrediënten
Gather these simple ingredients to start making your delicious treats!
For the Cups
- 1 cup semi-sweet chocolate chips
- ½ cup milk chocolate chips
- 1 cup creamy peanut butter
- 1 cup powdered sugar
- ½ teaspoon vanilla extract
- Sea salt for garnish
Once you have all your ingredients, you’re ready to begin!
Bereidingswijze
Follow these steps to create your Homemade Reese’s Cups.
Melt the Chocolate
In a double boiler over low heat, melt the semi-sweet and milk chocolate chips together, stirring until smooth. Once melted, remove from heat and let it cool slightly.
Prepare the Muffin Pan
Line a muffin tin with cupcake liners. Pour a spoonful of the melted chocolate into each liner, just enough to cover the bottom. Tap the pan gently to even out the chocolate.
Mix the Peanut Butter Filling
In a bowl, combine the peanut butter, powdered sugar, and vanilla extract. Mix until well combined and smooth.
Add the Filling
Once the chocolate in the muffin tins has set slightly, place a spoonful of the peanut butter mixture on top of the chocolate. Flatten it with the back of the spoon.
Top with More Chocolate
Cover the peanut butter layer with more melted chocolate, ensuring it’s completely sealed. Tap the muffin tin again to level the chocolate.
Chill and Serve
Refrigerate for about 20 minutes, or until the chocolate is firm. Once set, sprinkle a pinch of sea salt on top before serving.
Now that you know how to make them, it’s time to enjoy your sweet creation!
Professionele Tips
- For an extra twist, try adding crushed pretzels or a hint of cinnamon to the peanut butter filling.
Ingredient Substitutions
If you're looking to reduce sugar, consider substituting the powdered sugar with a sugar-free alternative like erythritol or a granulated sweetener of your choice. Just ensure that it dissolves well in the peanut butter to maintain a smooth texture. You can also use dark chocolate chips instead of semi-sweet and milk chocolate for a richer, more intense flavor that pairs beautifully with the salty topping.
Those with nut allergies can try sunflower seed butter as an excellent alternative to peanut butter. It provides a similar creamy texture and flavor profile with a hint of nuttiness. Just remember that sunflower seed butter can sometimes react with baking soda, creating a green hue in baked goods, but it won't affect these no-bake cups.
Scaling the Recipe
This recipe can easily be doubled or halved based on your needs. If you're throwing a party or gathering, preparing a larger batch ensures plenty of these delightful treats for everyone. Just adjust the size of your muffin tin as needed; mini muffin tins can yield smaller cups that are perfect for bite-sized snacking.
When scaling the recipe, keep an eye on the melting process of the chocolate; sometimes larger quantities may take a little longer to melt evenly. Regularly check and stir, ensuring it stays smooth and glossy, regardless of the volume. Also, be careful not to overcrowd the muffin tin in the freezer to ensure all cups set evenly and quickly.
Vragen Over Recepten
→ Can I use dark chocolate instead of milk chocolate?
Absolutely! Dark chocolate will give a richer flavor and pair wonderfully with the peanut butter.
→ How long will these cups last?
Stored in an airtight container in the fridge, they can last for up to two weeks.
→ Can I make these vegan?
Yes! You can use dairy-free chocolate and a vegan alternative to peanut butter.
→ What type of peanut butter should I use?
Creamy peanut butter works best for a smooth filling, but you can use chunky if you like some texture.
Homemade Reese’s Cups with Sea Salt
Gemaakt door: Ione Rutherford
Recepttype: Zoete Klassiekers
Vaardigheidsniveau: Beginner
Eindportie: 12 cups
Wat je Nodig Hebt
For the Cups
- 1 cup semi-sweet chocolate chips
- ½ cup milk chocolate chips
- 1 cup creamy peanut butter
- 1 cup powdered sugar
- ½ teaspoon vanilla extract
- Sea salt for garnish
Stappen
In a double boiler over low heat, melt the semi-sweet and milk chocolate chips together, stirring until smooth. Once melted, remove from heat and let it cool slightly.
Line a muffin tin with cupcake liners. Pour a spoonful of the melted chocolate into each liner, just enough to cover the bottom. Tap the pan gently to even out the chocolate.
In a bowl, combine the peanut butter, powdered sugar, and vanilla extract. Mix until well combined and smooth.
Once the chocolate in the muffin tins has set slightly, place a spoonful of the peanut butter mixture on top of the chocolate. Flatten it with the back of the spoon.
Cover the peanut butter layer with more melted chocolate, ensuring it’s completely sealed. Tap the muffin tin again to level the chocolate.
Refrigerate for about 20 minutes, or until the chocolate is firm. Once set, sprinkle a pinch of sea salt on top before serving.
Extra Tips
- For an extra twist, try adding crushed pretzels or a hint of cinnamon to the peanut butter filling.
Voedingswaarde (Per Portie)
- Calories: 220 kcal
- Total Fat: 16g
- Saturated Fat: 3g
- Cholesterol: 0mg
- Sodium: 100mg
- Total Carbohydrates: 18g
- Dietary Fiber: 1g
- Sugars: 10g
- Protein: 5g